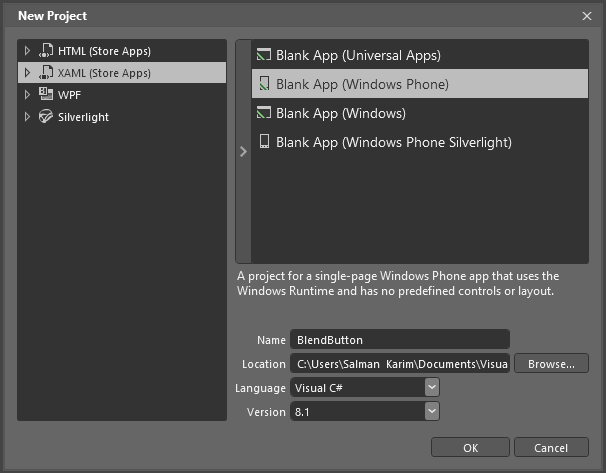
Today i will show you a very simple way to create a custom button in Microsoft Blend 2013.
1) Open Blend for Visual Studio 2013.
2) File -> New Project -> XAML (Store Apps) -> Blank App (Windows Phone)
3) Select the main Grid and Drag drop the Button from Assets -> Controls
4) In Objects and timeline window, right click on button -> Edit template -> create empty
5) A dialog box will open. Name the button as "myButtonStyle" and define in Application level so that it can be used in our whole application.
6) A blank grid will open and now we are in Button template. In objects and timeline select Grid and set its Width = 200 and Height = 70 from Properties Tab under Layout.
7) From Assets tab, under Controls search for Content Presenter and double click on it so it will become child of parent grid.
8) Do the following from Layout Tab:
Width = Reset
Height = Reset
Horizontal Alignment = Stretch
Vertical Alignment = Stretch
9) Create a simple rectangle in Photoshop of size 200 * 70 and save it as .png
10) In Blend, right on project name -> add -> add existing item. Add the picture we just created in Photoshop.
11) Drag and drop the picture in the content presenter and we are all done.
12) If everything goes right, our page will look like this:


No comments:
Post a Comment